- Click the link to active connection.
-
You will be redirected to Acuity's connection page. Type the account you want to connect with WaiverForever and click the "Next" button, then click the "Allow Access" button.
- The system will automatically establish the connection and redirect you to WaiverForever. You can click the "Check Connection" button to verify if the connection was successfully established.
- Go to your Acuity console, select Integration, scroll down to Analytics + Custom Integrations and find API module, click VIEW CREDENTIALS.
- Copy the User ID and API Key back to WaiverForever and click Save.
- Once saved, navigate to your Acuity account and click the Intake Form Questions and click the "NEW CUSTOM FORM" button to create a new form.
-
Name the form as desired, add a textbox labeled "WaiverForeverLink," set its size to Large, ensure the form is marked as "Internal Use Only," and select the appointment type you want to associate with this form. Then save the form.
8. Return to WaiverForever and click the 'Check Option' button to verify if your property is correctly configured.
9. Then navigate to the settings page of your desired template, select the Integration tab, and select the corresponding Appointment Type, then click update.
10. Once updated successfully, head to your Acuity Booking Page, test book the appointment you bind in the template setting, and confirm.
11. WaiverForever will automatically create a Request Group and send request sign email to the customer.
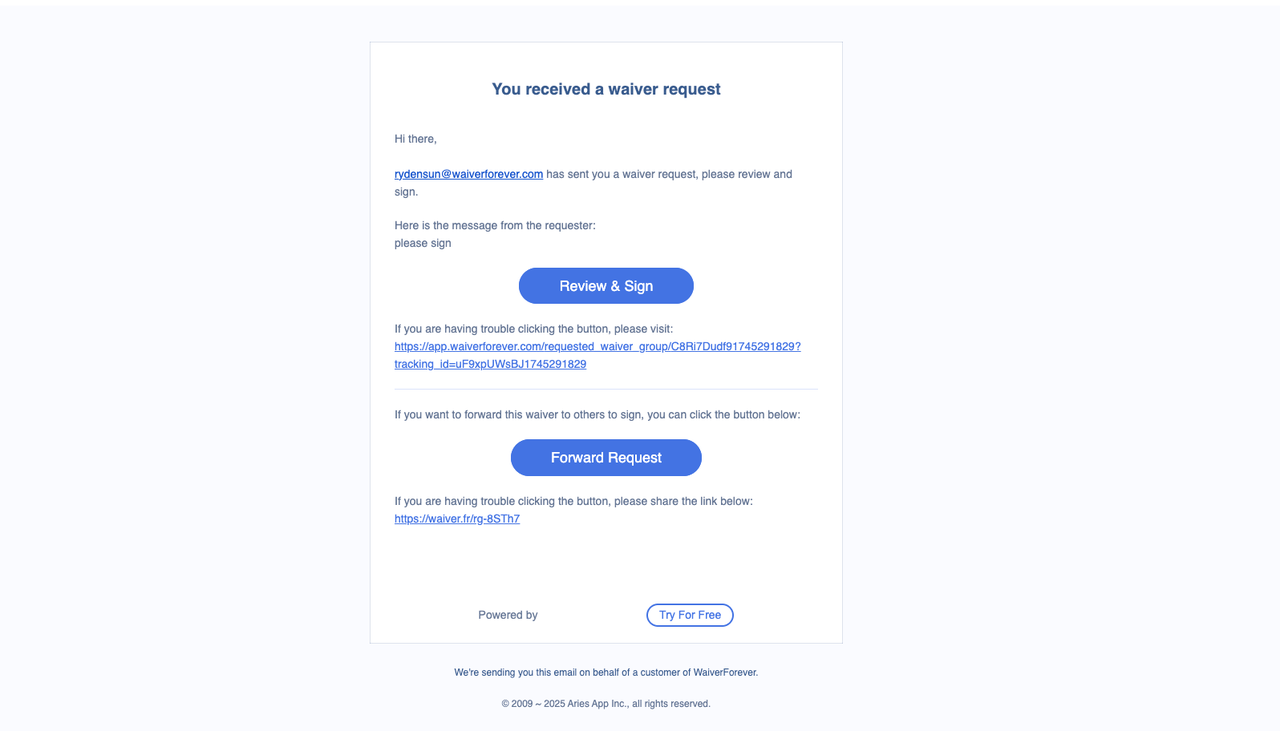
12. Click the button in Email and sign the waiver. Once uploaded, WaiverForever will automatically sync the waiver to Bookeo. You can see the waiver link in WaiverForeverLink that you created before in Bookeo.

13. A new client will be added at the same time.